I. Introduction

A. Importance of color-changing cups in monitoring hydration levels
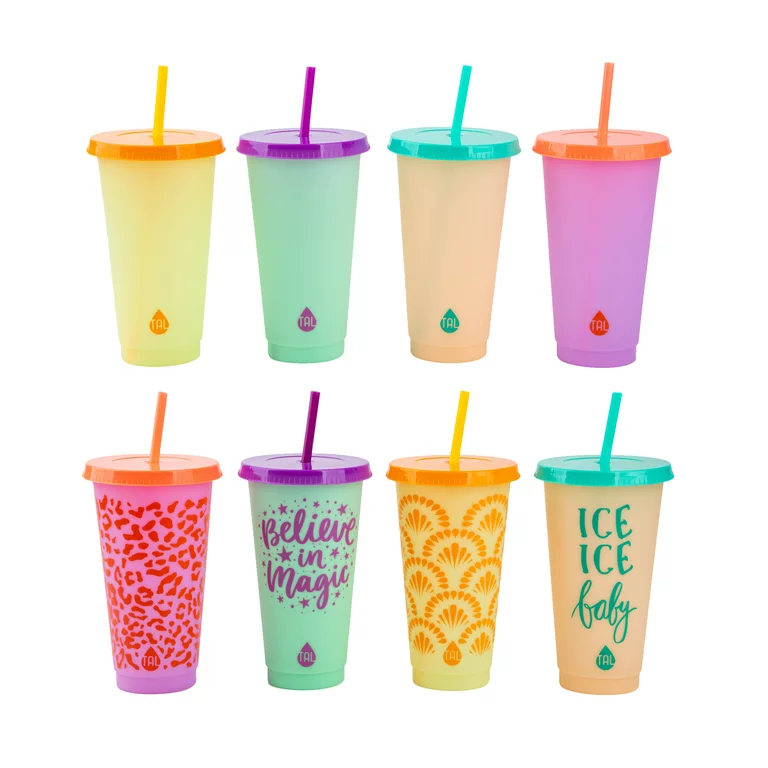
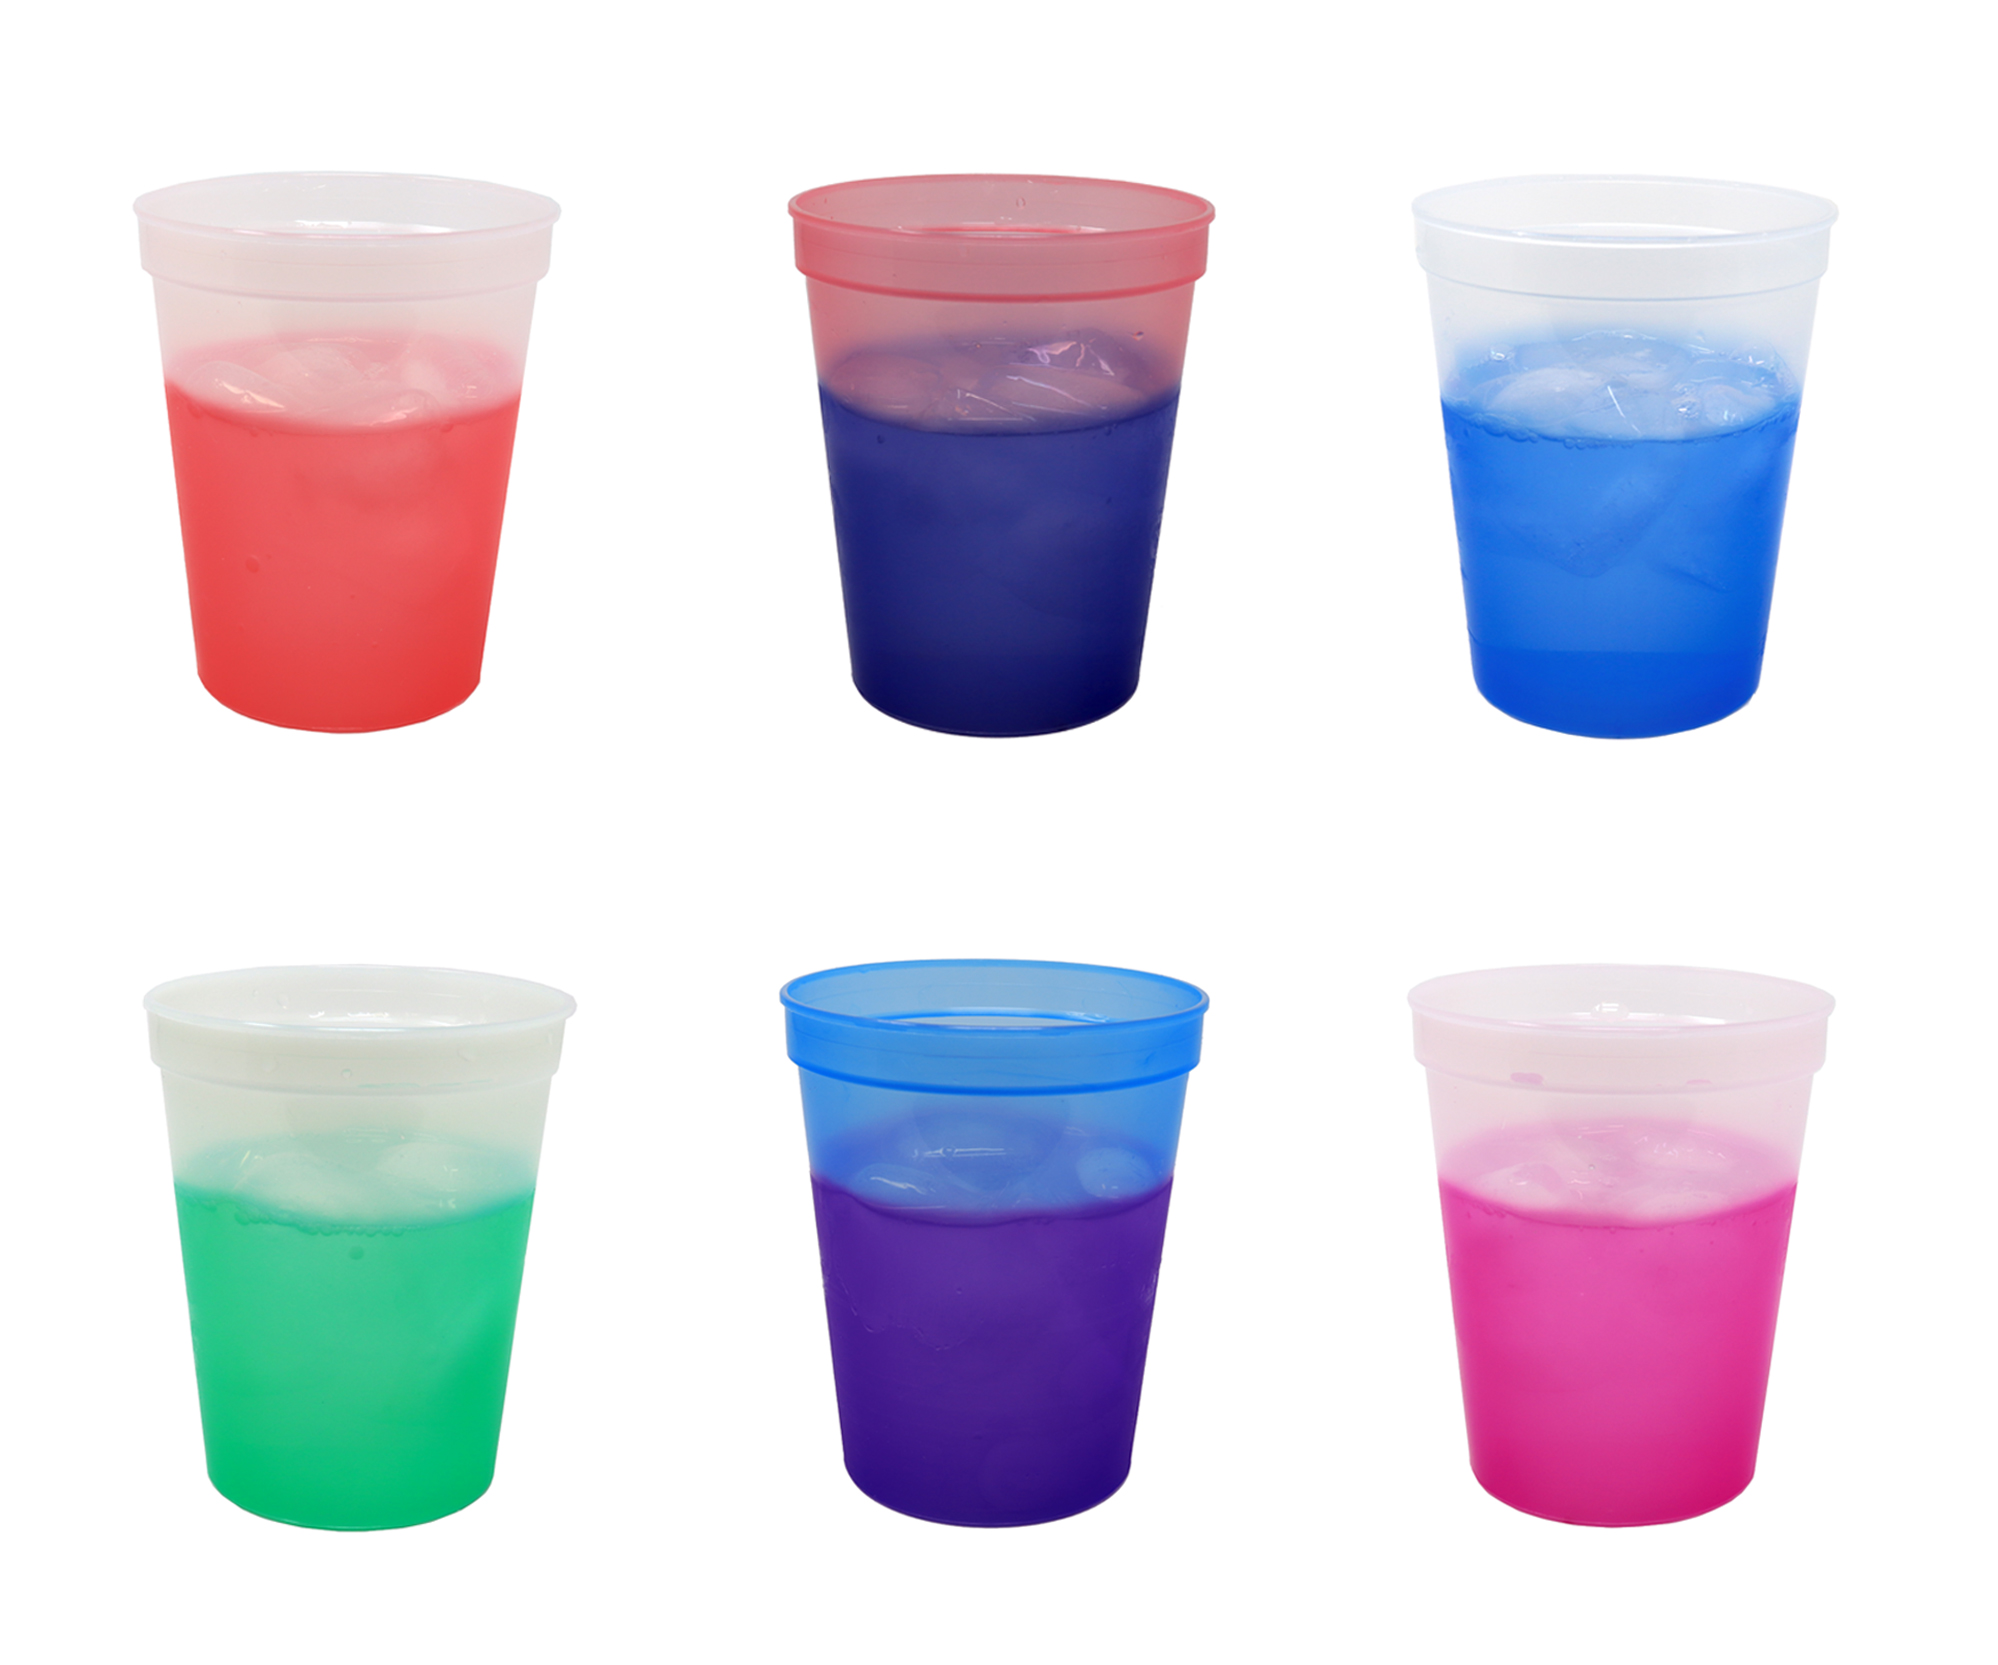
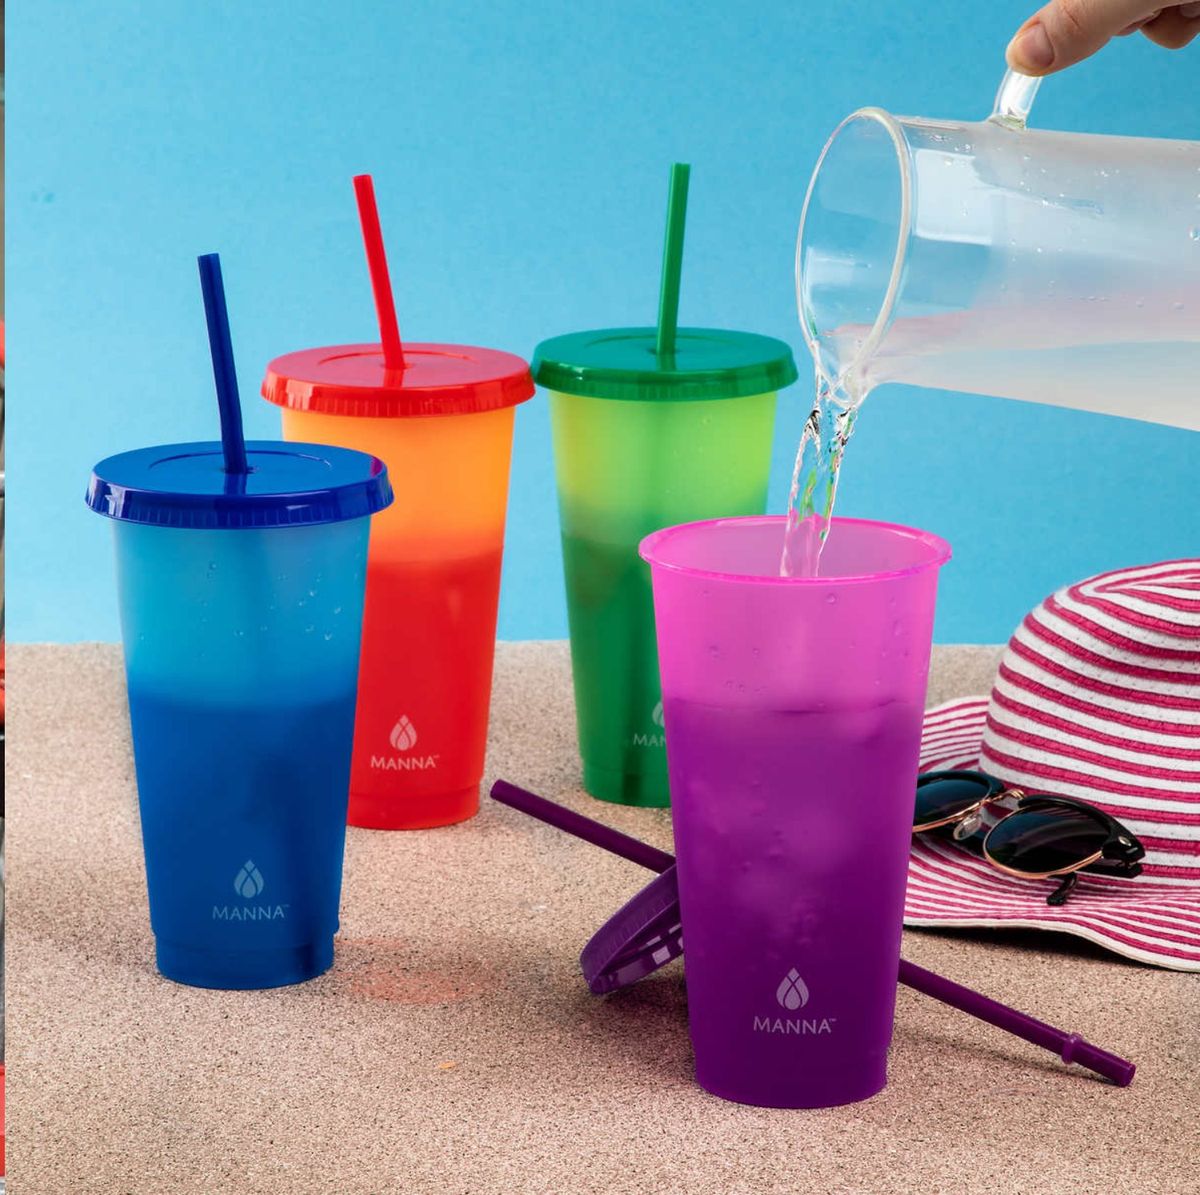
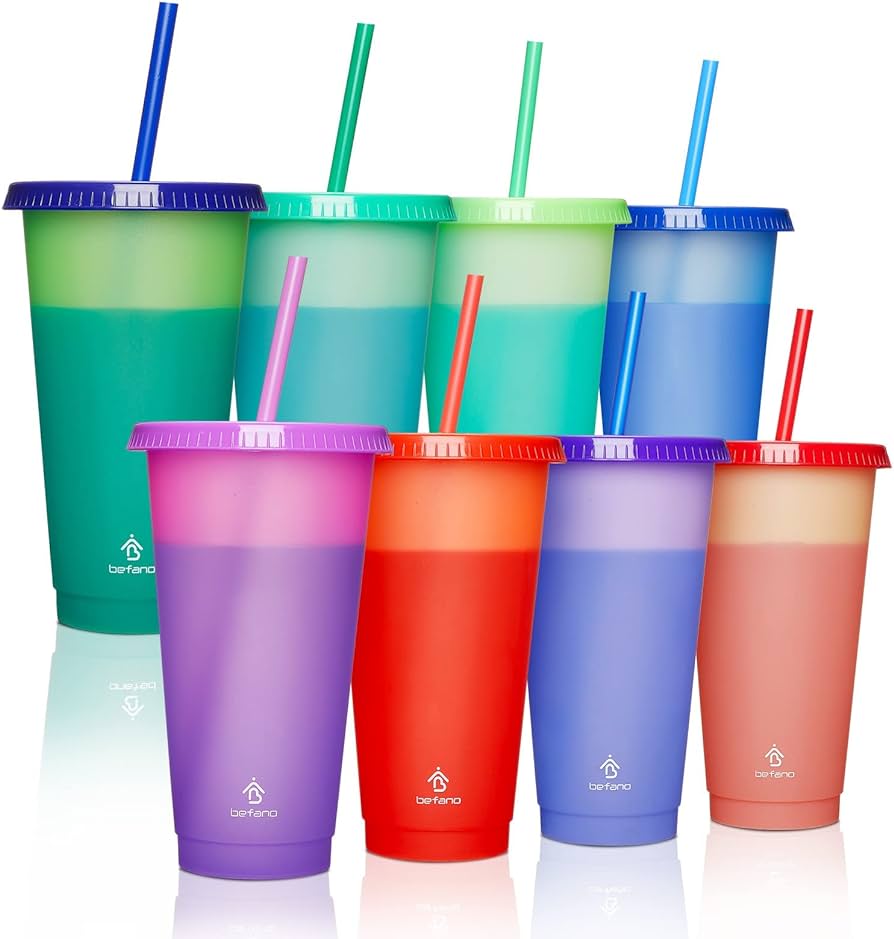
Color changing cups have gained popularity in recent years due to their ability to monitor hydration levels. These cups are designed with special thermochromic technology that changes color based on the liquid’s temperature, providing a visual indicator of whether the drink is hot or cold. This feature not only adds a fun and interactive element to drinking beverages but also serves as a useful tool in monitoring hydration.
B. Emphasize the need for proper cleaning to maintain functionality
In order to ensure the color-changing cups continue to function properly and accurately display temperature changes, it is crucial to maintain proper cleanliness and hygiene. Neglecting to clean the cups regularly can lead to the buildup of bacteria, mold, and other contaminants that may compromise the cup’s functionality and pose health risks. Therefore, it is important to have a thorough understanding of how to clean color-changing cups effectively.
II. The Basics of Cleaning Color-Changing Cups
A. Understanding the components and materials used in color-changing cups
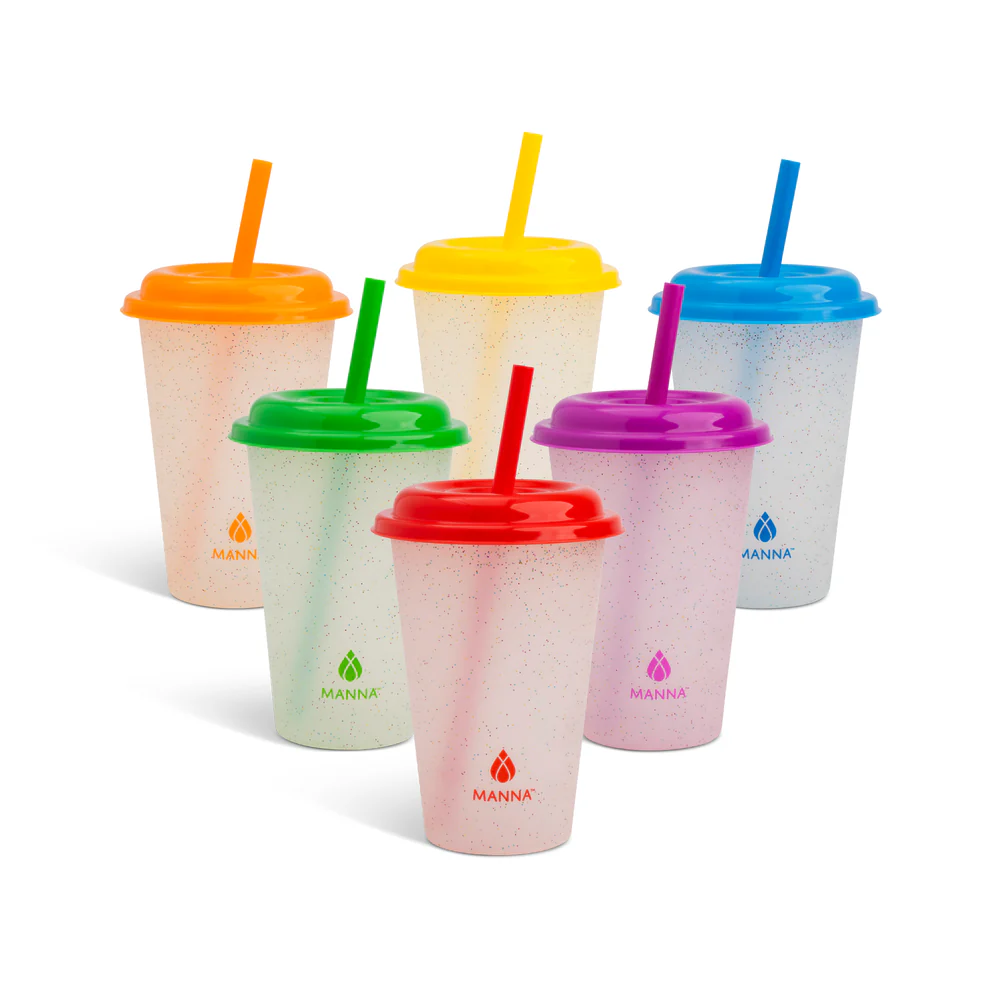
Before diving into the cleaning process, it is essential to have a basic understanding of the components and materials used in the construction of color-changing cups. These cups are typically made of food-grade plastic or glass, with the thermochromic technology incorporated into the inner surface. Some cups also feature removable parts such as lids, straws, and handles, which need to be cleaned separately.
B. Step-by-step guide to cleaning: Preparing and gathering supplies
To effectively clean color-changing cups, it is important to gather the necessary supplies beforehand. This includes:
- Warm water: Begin by rinsing the cup thoroughly with warm water. This helps remove any residual liquid or particles that may be present.
- Mild cleaning solution: Prepare a mild cleaning solution using a gentle dish soap or a mixture of warm water and vinegar. Avoid using harsh detergents or chemicals as they may damage the cup’s surface or color-changing technology.
- Soft brush or sponge: Use a soft bristle brush or sponge to scrub the cup’s inner surface, handle, and any removable parts. Ensure the brush or sponge is gentle enough to avoid scratching the cup.
- Damp cloth: Have a damp cloth ready for wiping down the color-changing panels or discs without compromising their functionality.
Rinsing the cup with warm water
Start the cleaning process by rinsing the cup with warm water. This will help remove any remaining liquid or particles before proceeding with a deeper clean.
Properly disassembling removable parts
If your color-changing cup has removable parts such as lids, straws, or handles, it is important to disassemble them before cleaning. Follow the manufacturer’s instructions for proper disassembly, ensuring not to force any parts that may be securely attached. This allows for a more thorough clean, ensuring that no residue accumulates in hard-to-reach areas.
Soaking in a mild cleaning solution
Once the cup and its removable parts are disassembled, prepare a mild cleaning solution using a gentle dish soap or a mixture of warm water and vinegar. Place the cup and its parts in the cleaning solution and allow them to soak for a few minutes. This helps loosen any stubborn stains or residue.
Scrubbing with a soft brush or sponge
After soaking, use a soft-bristled brush or sponge to gently scrub the cup’s inner surface, handle, and any removable parts. Apply the cleaning solution directly to the brush or sponge and scrub in circular motions to ensure thorough cleaning. Pay special attention to any areas that may have accumulated residue or stains.
Thoroughly rinsing and drying
After scrubbing, rinse the cup and its parts thoroughly with warm water to remove any remaining cleaning solution. Make sure there is no residue left on the cup’s surface or in any intricate grooves. Finally, dry all components completely before reassembling the cup.
III. Special Considerations for Color-Changing Cups
A. Avoiding abrasive cleaning agents to prevent damage to color-changing technology
When cleaning color-changing cups, it is crucial to avoid using any abrasive cleaning agents or tools that may damage the cup’s surface or color-changing technology. Harsh chemicals, rough brushes, or scouring pads can scratch or diminish the functionality of the cup’s thermochromic panels. Stick to gentle cleaning solutions and soft-bristled brushes or sponges to protect the cup’s integrity.
B. Cleaning the color-changing discs or panels without compromising their functionality
The color-changing discs or panels in the cup can be delicate and require special care during the cleaning process. Here are a few methods to clean them without compromising their functionality:
- Gently wiping with a damp cloth: If the color-changing panels are exposed and easily accessible, use a damp cloth to gently wipe away any dirt, smudges, or fingerprints. Avoid applying excessive pressure or using abrasive materials that may damage the panels.
-
Using specialized cleaning solutions or wipes specifically designed for electronic displays: In some cases, color-changing cups may come with specific cleaning solutions or wipes designed to maintain the functionality of the color-changing technology. Follow the manufacturer’s recommendations when using these specialized products to ensure safe and effective cleaning.
IV. Dealing with Stubborn Stains and Odors
Color-changing cups can sometimes develop stubborn stains or odors due to the liquids and food they come into contact with, as well as prolonged use. It’s essential to address these issues to maintain the functionality and appearance of your cup.
A. Treating discoloration caused by liquids, food, or prolonged use
When dealing with discoloration on your color-changing cup, you can try using a baking soda and warm water paste. This mixture acts as a gentle abrasive and can help remove stains without scratching the cup’s surface. Simply make a paste by mixing baking soda and warm water, and then apply it to the stained areas. Gently scrub the surface with a soft brush or sponge, and then rinse thoroughly.
For more stubborn stains, you can try using vinegar or lemon juice. These natural acidic agents can help break down tough stains. Apply the vinegar or lemon juice directly to the stained areas, allow it to sit for a few minutes, and then scrub the surface. Rinse the cup thoroughly to remove any residue.
B. Removing unpleasant smells from color-changing cups
If your color-changing cup has developed unpleasant odors, soaking it in a mixture of water and baking soda can help eliminate them. Create a solution by mixing equal parts of water and baking soda in a bowl or sink. Submerge the cup in the solution and let it soak for several hours or overnight. After the soaking period, rinse the cup thoroughly and allow it to air dry.
Alternatively, you can use specialized odor-eliminating tablets or solutions designed specifically for sports bottles or hydration gear. Follow the instructions provided with the product to effectively eliminate any unwanted smells.
V. Maintenance and Storage Tips for Color-Changing Cups
To ensure the longevity of your color-changing cup, it’s important to perform regular maintenance and practice proper storage methods.
A. Regularly checking for wear and tear or potential leaks Inspect your color-changing cup regularly for any signs of wear and tear, including cracks, leaks, or damaged components. This is especially important for ensuring the cup’s durability and preventing any accidents or leaks during use. If you notice any issues, it’s advisable to replace the cup or seek professional repairs.
B. Properly storing color-changing cups to prevent damage Proper storage of your color-changing cup is crucial to prevent damage and maintain its functionality. Before storing, disassemble any removable parts and thoroughly dry them, along with the entire cup. This will prevent the growth of mold or mildew and help maintain the cup’s cleanliness. Store the cup in a cool, dry place away from direct sunlight or extreme temperatures.
Conclusion
By following these tips for dealing with stubborn stains and odors, as well as practicing proper maintenance and storage, you can ensure that your color-changing cup remains clean, functional, and enjoyable to use for years to come. Regular cleaning and upkeep will not only preserve the cup’s appearance but also contribute to maintaining its color-changing technology and overall performance. Remember to treat your color-changing cup as an investment that requires care and attention for maximum longevity and satisfaction.